If you live in a snowy region, learning how to use a snowblower properly can mean the difference between an aching back and a clear driveway.
Many homeowners dread heavy snow days, worrying about lifting a shovel or pushing a heavy machine for hours. Using a snowblower incorrectly can lead to injuries, wasted time, and frustration.
But here’s the good news: You can use a snowblower easily and safely, and even better, you can let a robot snowblower handle the job while you stay warm indoors.
Table of Contents:
How to Use a Snowblower Safely: Step-by-Step
Before you learn how to use a snowblower properly, take these essential preparation steps:
Check your snowblower:
-
Ensure fuel levels are adequate (fill up before heavy snow).
-
Check oil levels and top up if needed.
-
Inspect spark plugs for corrosion and replace if worn.
Clear obstacles: Remove branches, rocks, garden hoses, and cables from your clearing path to prevent jams or damage.
Mark driveway edges: Use brightly colored stakes or markers along driveway and walkway edges for better visibility, especially in heavy snowfall.
Preparing correctly prevents damage to your snowblower and ensures that when you use a snowblower, you do so safely and efficiently.
Step-by-Step Guide to Using a Snowblower
Here’s how to use a snowblower for the best results you can follwo the snowblower robot setup guide:
-
Start Early
Clear snow shortly after snowfall while it’s still light and fluffy to prevent compaction, which makes removal harder.
-
Position Yourself Correctly
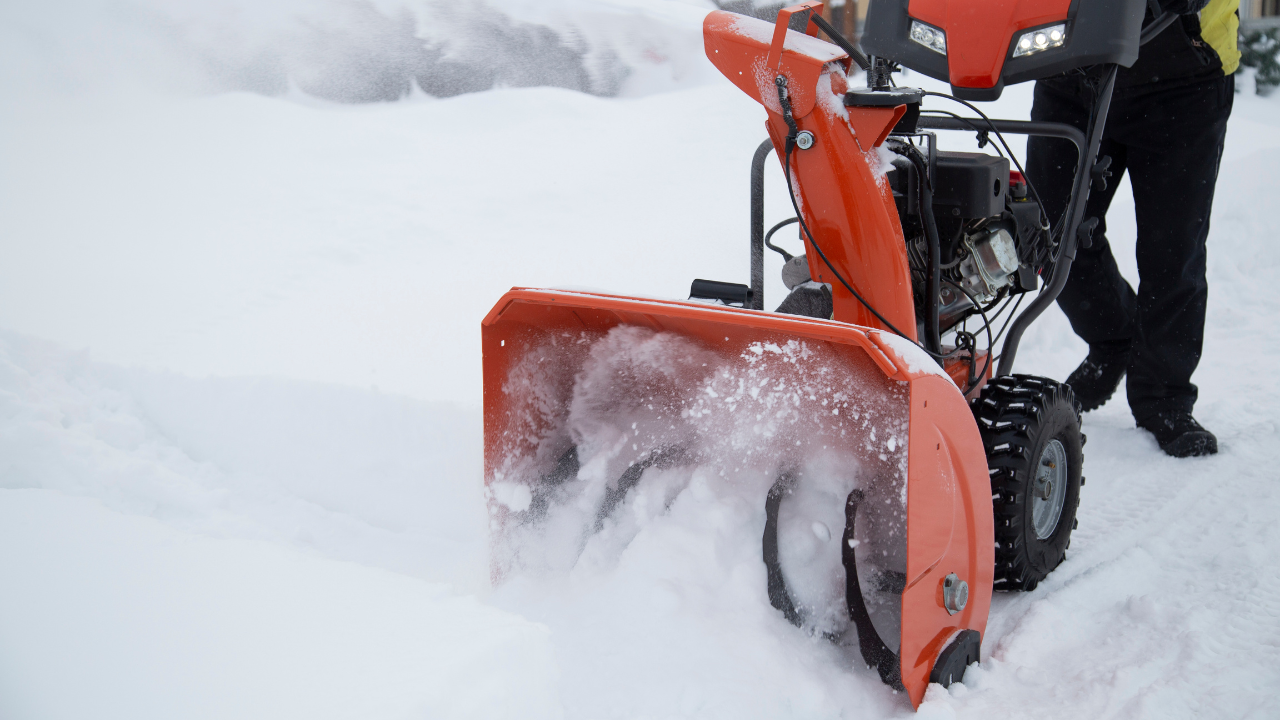
Stand behind the handles with a firm grip, maintaining an upright posture with slightly bent knees to avoid back strain, especially during turns.
-
Adjust Chute Direction and Angle
Direct snow away from driveways, sidewalks, and neighboring properties. Adjust the chute to a 45°–60° angle for optimal throw distance depending on snow density and wind direction. A lower angle (45°) is better for heavy, wet snow, while a higher angle (60°) works well for light, fluffy snow.
-
Adapt for Snow Depth
-
For 3 inches of snow: Use normal speed with wider clearing paths.
-
For 6 inches of snow: Reduce speed, take narrower paths to prevent clogging.
-
For 12 inches of snow: Clear in layers, removing the top 6 inches first before clearing the remainder to reduce strain on your snowblower and prevent stalls.
-
Move in Straight Lines
Clear your driveway in straight lines, slightly overlapping each pass (by 2-3 inches) to ensure complete snow removal.
-
Take Breaks
Avoid fatigue and muscle strain by taking breaks every 15–20 minutes during heavy snow clearing sessions.
Using a snowblower safely in heavy snow with correct posture and patterns can prevent injuries and reduce snow-clearing time.
Even with the best methods, traditional snowblowers require alot physical effort. Switching from traditional to robot snowblower like
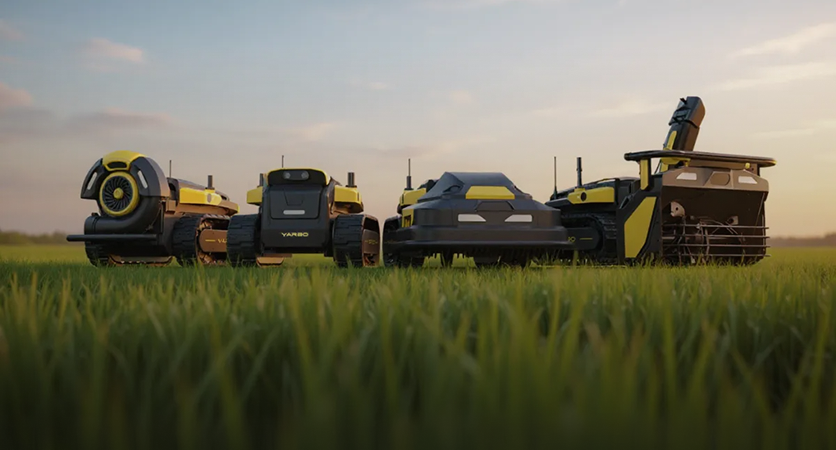
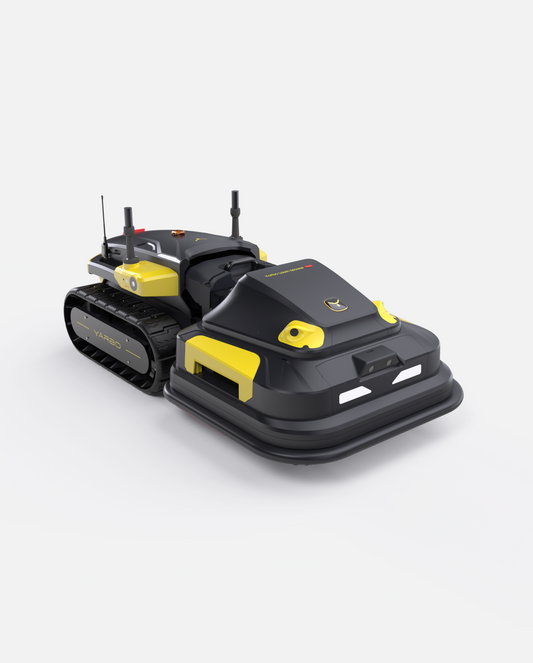
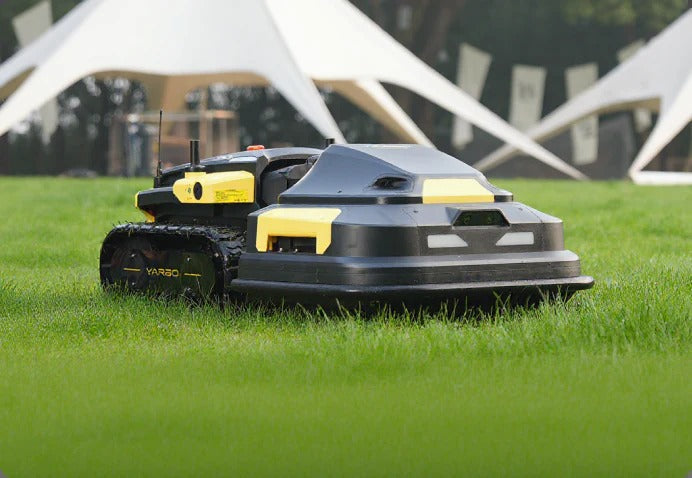
Yarbo’s Snow Blower eliminates manual labor while maintaining effective snow removal.
What Are Robot Snowblowers?
A robot snowblower is an autonomous machine designed to clear snow from your driveway and pathways without manual effort. Unlike traditional snowblowers that require you to push, steer, and monitor every move, robot snowblowers navigate, clear, and return to their charging stations automatically.
Using a robot snowblower simplifies winter snow removal, reduces the risk of slips and back injuries, and ensures your driveway is clear without you lifting a finger. There are many snowblowers available nowadays. You need to do some research based on your needs to find the best robot snowblower for beginners.
How Do Robot Snowblowers Work?
Robot snowblowers work similarly to robotic lawn mowers or vacuum cleaners but are engineered for the demands of snow and ice. Here’s how they operate:
-
Mapping & Navigation: Advanced sensors and GPS mapping allow them to learn your driveway’s layout and avoid obstacles.
-
Scheduled Clearing: Set your robot snowblower to clear snow at specific times, even during snowfall, preventing buildup.
-
Smart Obstacle Detection: They stop or reroute if they detect objects in their path.
-
Remote Control: Most models, including the Yarbo robot snowblower, can be controlled via a smartphone app for manual overrides or adjustments.
-
Self-Charging: They return to their charging base automatically after completing a job or when battery levels run low.
These features eliminate the need for you to use a snowblower manually, making winter maintenance effortless.
Switching From Traditional to Robot Snowblower
Switching from traditional to robot snowblower usage simplifies winter maintenance while ensuring consistent, effective snow removal.
How to Transition:
-
Measuring Your Area: Confirm your driveway size is within your robot snowblower’s capacity. For example, the Yarbo robot snowblower efficiently handles driveways up to 100㎡ in one clearing cycle.
-
Installing the Base Station: Position it near your driveway in a flat, accessible area for charging and auto-docking.
-
Mapping Your Property: Let your Yarbo robot snowblower learn driveway boundaries, paths, and obstacles for precise, obstacle-avoiding operation.
-
Setting Schedules: Program your robot snowblower to clear during or right after snowfall, preventing snow compaction.
-
Monitoring Remotely: Use the Yarbo app to track progress, pause or resume operation, and adjust settings anytime, anywhere.
This switch from traditional to robot snowblower usage redefines how to use a snowblower, turning snow removal into a fully hands-free, weather-proof task.
Common Mistakes Traditional vs Robot Snowblower Usage
Here’s a quick comparison of common mistakes when using a traditional snowblower vs. how the Yarbo robot snowblower solves them:
 Skip to content